RV fiberglass detailing: gelcoat, filon and painted caps explained
By Nate Ferreira · October 21, 2026
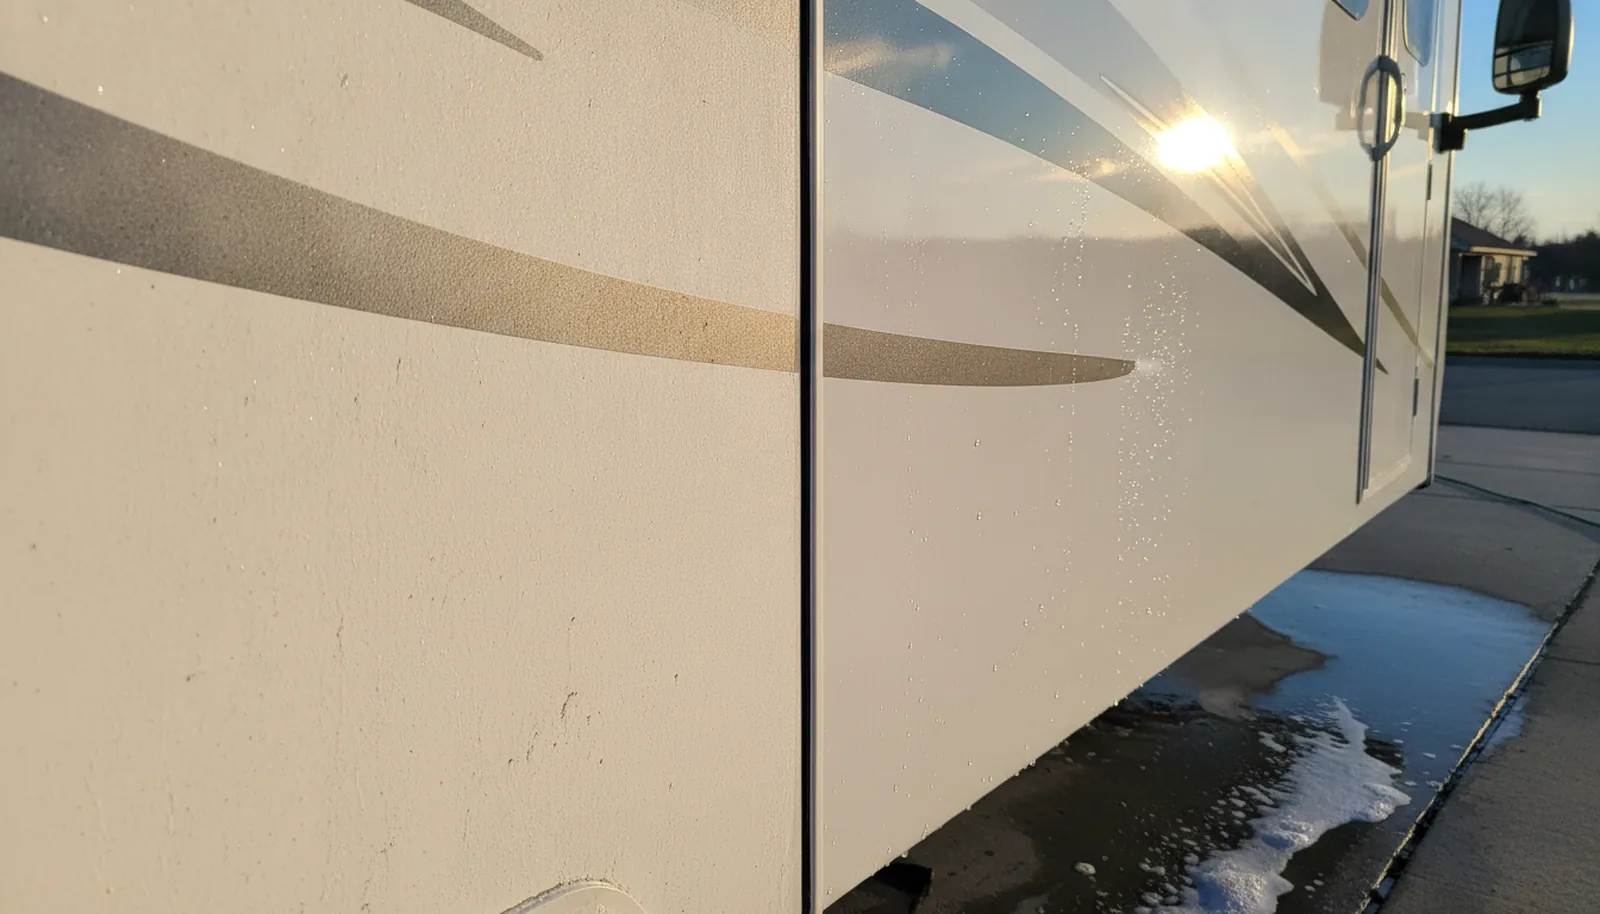
The first time I put a polisher on my own RV’s front cap, I was at a storage lot off Collier Boulevard, three miles from the Gulf, before I knew about RV wax and oxidation removal pros in Tampa. That day taught me the hard way about RV fiberglass detailing. The fiberglass had gone flat and chalky after two summers of Florida sun, and I figured my yacht-detail muscle memory would carry me through. It didn’t. It didn’t. I burned a spot on the edge of the clear coat in about eight seconds.
That mistake cost me a day and a re-clear of the cap. It taught me one thing worth passing on: before you touch an RV with compound, polish, or wax, you have to know exactly what that surface is. Gelcoat, filon, painted caps, aluminum, vinyl decals. Get it wrong and you can cut through a roof cap or smear a decal before you know it. If you’re not sure, call an RV wax and oxidation removal pros in Tampa and ask them to test a small spot before quoting.
What surface are you actually looking at?
Most RVs have at least three different exterior surfaces, and sometimes more. Molded fiberglass caps (front and rear) and laminated fiberglass sidewalls are finished in gelcoat. That’s a colored resin, not paint, and it oxidizes in UV and moisture. Full-body paint often has a modern clear coat on top of factory paint, so it behaves more like a car finish. Aluminum siding is still common on some travel trailers, and decals or graphics sit on top of everything else.
Gelcoat is porous. That’s why it chalks.
If you run a hand over a dry surface and get white dust, that’s oxidized gelcoat, not dirt. The only reliable way to know for sure is the owner’s manual or a small test wipe with a mild solvent on a spot nobody sees.
How to identify each RV surface and what it tolerates
This table is the cheat sheet I use in my own driveway. The rules come from panel makers, paint care sheets, and detailer forums, not guesses.
| Surface | How to tell | Tolerates | Avoid |
|---|---|---|---|
| Gelcoat fiberglass (caps, filon sidewalls) | Chalky when oxidized, thick, colored all the way through | Compound, polish, wax, ceramic coating after correction | Aggressive compound on thin spots, harsh alkaline cleaners, dirty brushes |
| Painted caps / full-body paint with clear coat | Smooth, glossy, swirls like a car | Polish, wax, synthetic sealant, ceramic coating | Heavy compounding, rotary buffer in inexperienced hands, dish soap, brushes |
| Aluminum siding | Metal feel, often textured or ribbed, rivets visible | Wash with mild soap, wax or sealant designed for metal | Acid or alkaline cleaners full strength, abrasive pads |
| Vinyl decals / graphics | Raised edges, matte or gloss film, printed pattern | pH-neutral cleaner, gentle hand wash, spray sealant (check maker) | Any compound or polish, pressure washer near edges, strong solvents |
| Clear-coated decals (rare) | Glossy film over printed vinyl | Mild polish by hand only, gentle wash | Machine polishing, aggressive compounds |
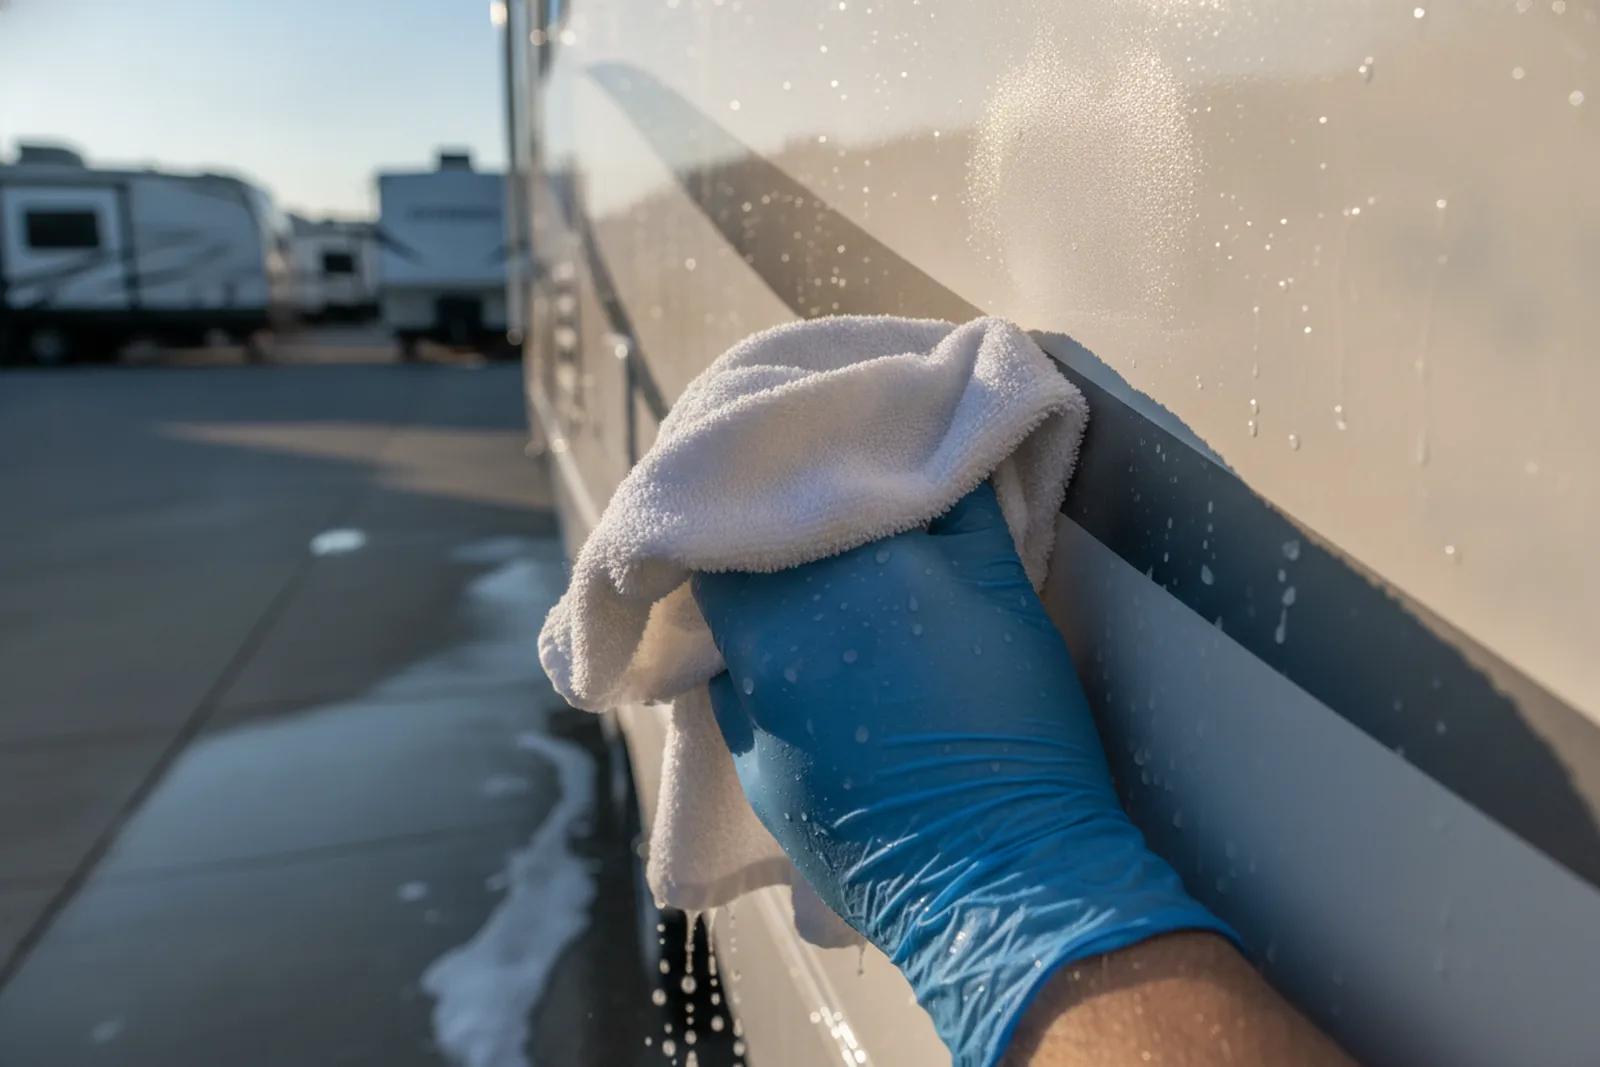
Why gelcoat oxidizes and painted caps don’t
Gelcoat oxidation is not dirt.
Painted caps with clear coat oxidize differently. On a hot roof or hood, the clear might be only a couple mils thick. I treat painted RV caps like a dark-colored car parked under a tree in Miami: very careful, very slow, only a fine polish by machine.
My yacht background made me cocky about gelcoat. RV filon is often thinner and backed by wood or foam. Hit an edge with a rotary and a wool pad, and you’ll see the core before you hear the mistake.
If you want to dig deeper into the correction process, I wrote a long post on RV oxidation removal: how to bring back chalky gelcoat without cutting through it. It covers the towel test, pad choice, and how many passes a typical 30-foot sidewall takes.
If you want to see oxidation removal in action, I found a detailed video that walks through the full process on an RV.
Order of correction matters more than product choice
You can spend five hundred dollars on a ceramic coating and still have chalky gelcoat if you don’t correct first.
Many owners jump to wax becuase it’s cheap and familiar.
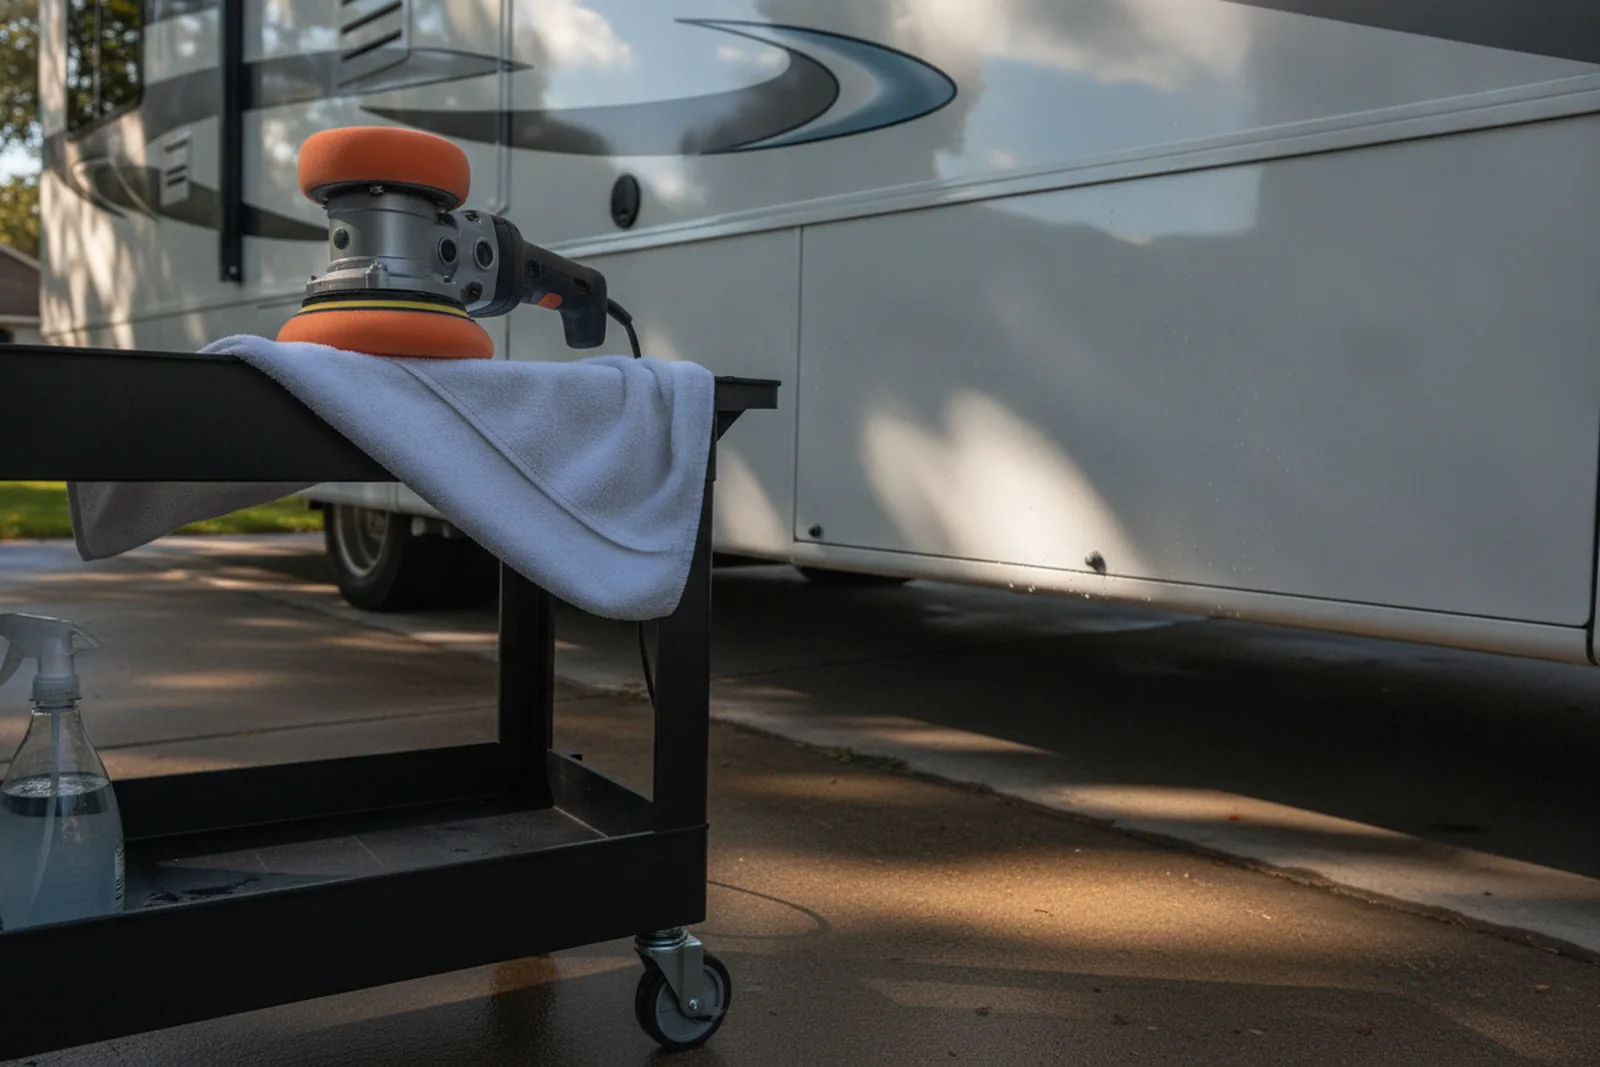
If you’re using a dual-action polisher, start with a test spot on a 2-foot by 2-foot section. If it don’t clear, step up one notch. On my filon sidewall, I needed two passes with a medium compound and an orange foam pad. On the painted cap, a finishing polish and a white pad was all I dared.
A rotary buffer is the fast way to burn an edge or strip a decal. I use a dual-action as my teaching tool and my daily driver. It stalls instead of burning, and it’s forgiving on curved caps.
The painted cap mistake I made, and the test spot that would have caught it
If I’d done a test spot down low, behind the diamond plate or near a marker light, I would have seen the clear coat swirl and stopped. That’s the tuition you don’t need to pay.
Painted caps and full-body paint are the most common surface on late-model coaches and some high-end fifth wheels. The clear coat may be factory or applied after a repaint. Either way, treat it like paint: compound only if the test spot demands it, polish with a fine pad, and never let a rotary spin on an edge or body line.
The rule I now follow: if I can’t tell wether the surface is gelcoat or clear coat, I treat it as clear coat. The risk of being too gentle is less than the cost of being too aggressive.
Which RV surfaces accept ceramic coatings
Ceramic coating goes on almost any clean, corrected surface: gelcoat, painted clear coat, even some vinyl decals with the right formulation. The mud stays.
On my filon sidewalls, I corrected the chalk, polished, wiped down with a surface prep, and applied a two-year ceramic coating. Gelcoat is porous, so it drinks coating faster than paint. A carnauba wax on a trailer that sits outside in Naples might last only a month or two. A good synthetic sealant lasts roughly three to six months. Ceramic lasts longer but still needs decontamination and a top-off as the coating maker recommends.
Before you commit to a coating, read the warranty. Many require registration, annual inspections, and approved washing. Many exclude neglect and pay by reapplication, not cash. The paper matters more than the marketing, so read it before you buy.
A quick field guide to decals, aluminum, and the other materials you’ll meet
Decals are the easiest thing to ruin on an RV.
Aluminum siding is forgiving for washing but not for strong acids or alkalis. Test on the lower skirt first.
Diamond plate, aluminum wheels, and trim are the same story: mild soap, a soft brush, and a protectant made for metal. Tire dressing goes on tires only, never on the sidewall or slide seals.
If you’re unsure what any of these surfaces are on your own rig, call a detailer near you and ask them to walk around it. A good one will point out each material and what they’d do. You can start by looking at RV detailers across Florida to find someone local who knows gelcoat from filon without guessing.
What RV fiberglass detailing should cost, and when to hire it out
Many mobile detailers quote by the linear foot of rig length, but some quote flat rates.
Those are ranges I’ve seen on price pages and quote sheets in Florida over the last few years. Your region will differ. Get two written quotes on the same job and ask what’s included. Some detailers include roof cleaning, some charge extra. Trip fees and minimums exist, but amounts vary widely, so ask before you book.
The best money I ever spent on someone else’s RV was paying a pro to do the roof and the front cap on a 40-foot motorhome with a full-body paint job. It took him a full day on a ladder, and he had the scaffolding to do it safely. I could have done it, but my neck and my knees were worth more than his labor.
The fifty-cent test that tells you what to do next
Before you buy any compound, polish, or coating, do this.
I test every RV this way, including my own. The chalk test doesn’t tell you how thick the gelcoat or clear coat is, but it tells you what the surface is doing right now.
This weekend, walk around you’re rig with a white towel and a spray bottle. Then go online and pull up two mobile detailers or shops with an RV bay near you and ask both for a written per-foot quote on the same job. One will quote you a wash and wax. The other will tell you the truth about oxidation. Hire the honest one.
More from the wash bay
FAQ
Can I compound my RV fiberglass sidewalls myself?
Yes, with a dual-action polisher and a medium foam pad, small sections, and patience. Gelcoat is forgiving, but filon can be thin. Start with the least aggressive compound and do a test spot. If you see the color lightening or the pad turning the color of the panel, stop. Hand compounding a whole RV is possible but brutal. Machine is better.
How do I know if my RV has gelcoat or clear coat?
Gelcoat chalks white when oxidized and feels rougher. Clear coat fades or peels more evenly and often shows fine swirl marks. If you rub a small area with a mild solvent and get white residue, its gelcoat. Another clue: most molded caps and filon sidewalls are gelcoat; many luxury coaches have full-body paint with clear coat. When unsure, treat it like clear coat.
What's the best pad for RV oxidation removal?
A dual-action polisher with a medium-cut foam pad, usualy orange or yellow. Use a wool pad only if the oxidation is heavy and you have experience. Work 2-foot squares, overlap passes, and clean the pad often. A rotary buffer is faster but burns thru edges and clear coats quickly. For most RV owners, a dual-action with a 5-inch backing plate covers sidewalls well.
Will ceramic coating fix oxidized gelcoat?
No. Ceramic coating is a protectant, not a restorer. It seals the surface that's there. If you coat chalky gelcoat, the chalk stays under the coating and the dull look remains. You must compound and polish first, then wipe with a surface prep, then coat. Coating over oxidation is the most common expensive mistake I see from new RV owners.
How often should I wax an RV that sits outside in Florida?
Every one to four months for a carnauba wax if the rig lives in the sun. A synthetic sealant lasts roughly three to six months. Ceramic coatings go much longer but still need washes and decontamination as the coating maker recommends. UV and salt air shorten everything. Check your rig's manual; some makers say wax every 6 months, some say more often if stored outside.
I have black streaks on my fiberglass sidewall. What should I use?
Use a black-streak remover labeled safe for RV fiberglass or a mild soap with a soft brush. Do not use full-strength bathroom or kitchen cleaners; they strip wax and can etch gelcoat. Clean the roof and gutters first so the streaks don't come right back. After the streaks are gone, reapply wax or sealant to that area. Left long enogh, streaks can stain.
Find RV detailers near you
Compare RV detailers and mobile washes in your city, then ask a few for a price.
Browse by state