RV exterior detailing: 11 things a proper exterior detail should include
By Nate Ferreira · October 21, 2026
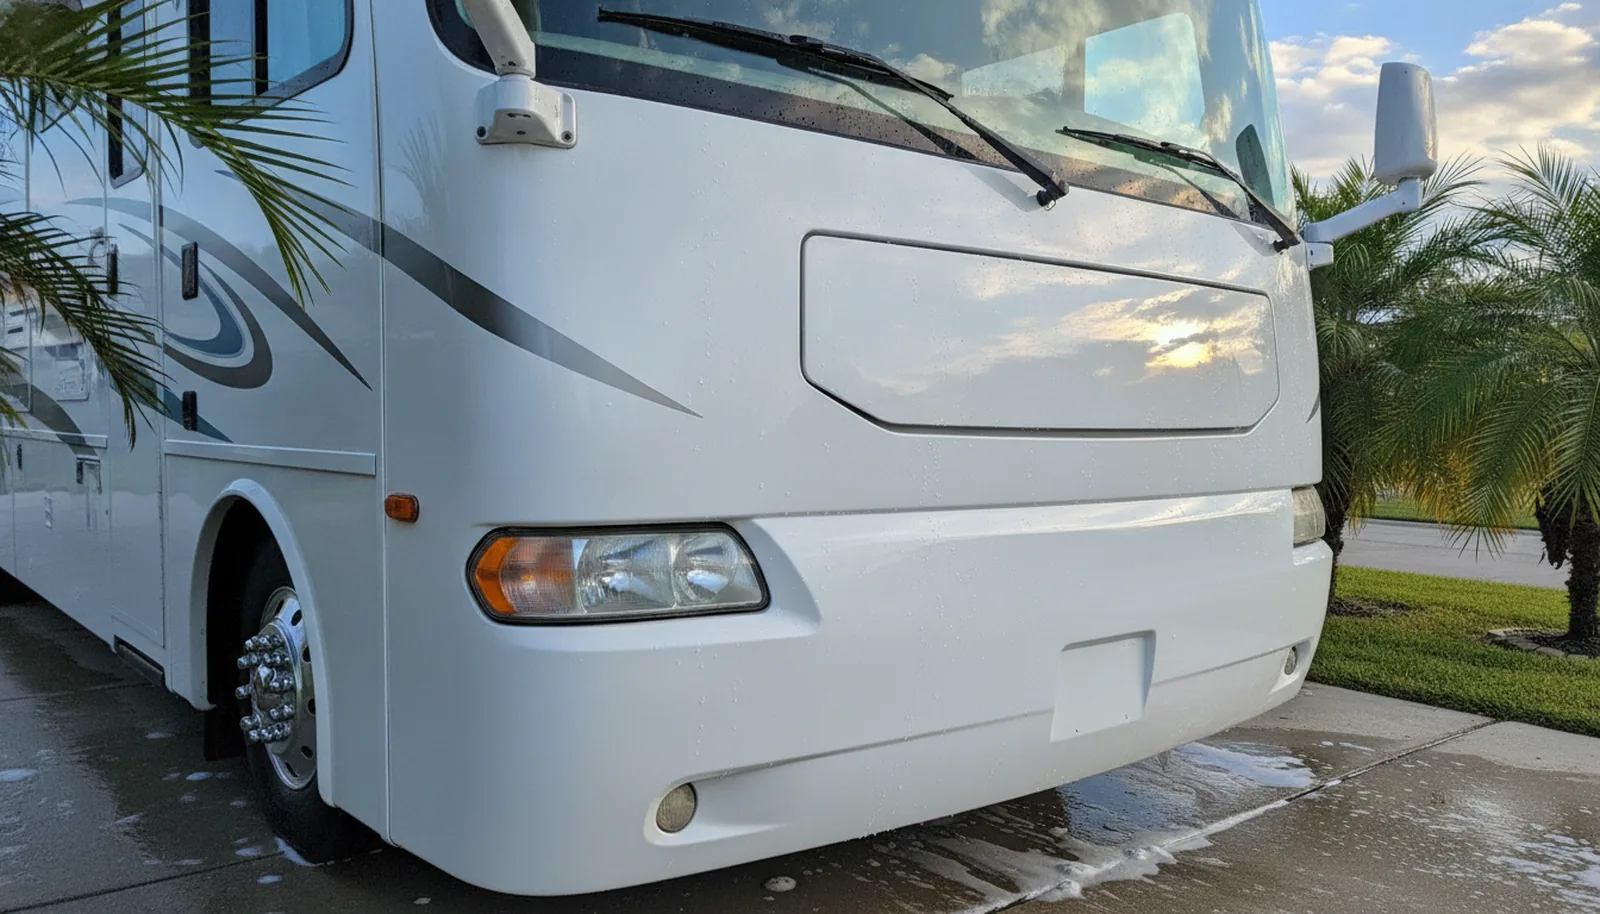
I pulled my 25-foot Class C into the driveway on a Tuesday in May and the afternoon sun made the front cap look like somebody dusted it with flour. That rig sits outside in Fort Myers, and the salt air does things to gelcoat that a garage queen in Ohio never sees. When I was ready to hire out the exterior, I called a Fort Myers boat and RV wax crew and asked one question: what does your RV exterior detailing actually include?
The quote I got back was three words: wash, wax, wheels. No roof, no gutters, no decontamination. That is a boatyard wash wearing a detail costume, not a real RV detail. I have burned through enough pads and oxidized panels over the years to know what belongs on the line item list, so I wrote it down.
1. The roof gets cleaned first, with a membrane-safe cleaner
Start at the top or do not start. If the detailer never mentions the roof, walk away. The roof is a dirt factory. Tree sap, mildew, and streak-making grime all collect up there, then rain washes it down the sides. A proper detail starts with a scrub of the roof membrane using a cleaner safe for EPDM or TPO, a medium brush, and a low-pressure rinse with a regular hose.
Ask the detailer two questions: what is your roof cleaning product, and do you inspect the lap sealant while you are up there?
2. Roof treatment or protectant, only if the membrane wants it
Not every roof gets a protectant. If they cannot tell EPDM from TPO in under five seconds, they are not detailers.
Ask: do you treat the roof, and if so, with what? A month later, a properly cleaned EPDM roof looks dark and even; a neglected one starts looking gray and dry. On a fiberglass roof, skip the treatment and just wax it like gelcoat, but check the manual first because many roofs are not walkable.
3. A top-down hand wash as part of RV exterior detailing, not a one-pass spray job
Wash top to bottom, front to back. The painted surface on a full-body paint rig does not want any brush, even a soft one, according to one motorhome maker’s care sheet. Cotton or lamb’s wool mitts only.
Ask the the detailer: what pressure setting do you use around seals, and do you have a separate mitt for wheels? Skip this and you will see streaks and water spots in the sun a week later.
4. Rain gutters and drip spouts get scrubbed out
Black streaks do not live on the roof. They live in the gutters. It is a five-minuite job with a brush and a hose, and it is the single biggest step for keeping streaks away. Skipping it is the fastest way to ruin a fresh wax job.
Ask: do you scrub the gutters or just rinse the roof? If they skip it, your new wax gets streaked in the the first rain. I have seen it happen too many times. I had a Fort Myers coach come to me with streaks so bad the white sidewall looked tan. The last detailer skipped the gutters.
5. Bug and tar removal on the front cap
Lovebugs, grasshoppers, and tar do not come off with car wash soap. On painted caps, keep the surface out of direct sun and under 90 degrees, as one motorhome maker advises.
Ask: do you hit the front cap with a bug remover or just scrub harder? Scrub harder means scratched clear coat. A month later, skipped bugs look like brown freckles, and the acid has etched tiny rings in the clear.
6. Decontamination with clay or chemical fall-out remover
After the wash, the surface still has iron rail dust, brake dust, and industrial fallout that you cannot see.
Ask: do you clay the sidewalls or just wash and wax? Washing and waxing over embedded contamination seals it in and the paint feels like sandpaper. A month later, the surface should feel smooth under a plastic bag. A rough feel means they skipped decon.
7. Oxidation check with the towel test, then correction if needed
Wipe a dry towel accross the sidewall. The required link RV wax and oxidation removal detailers nationwide lists pros who do this right.
Ask: did you do the towel test, and what did it show? A month later, the shine is gone and the chalk is back, and you are out the money you paid for a detail that did not last. For a full breakdown of fiberglass and gelcoat, see our post on RV fiberglass detailing.
8. Protection applied with a stated lifespan
Wax, sealant, or coating. Pick one and know how long it lasts.
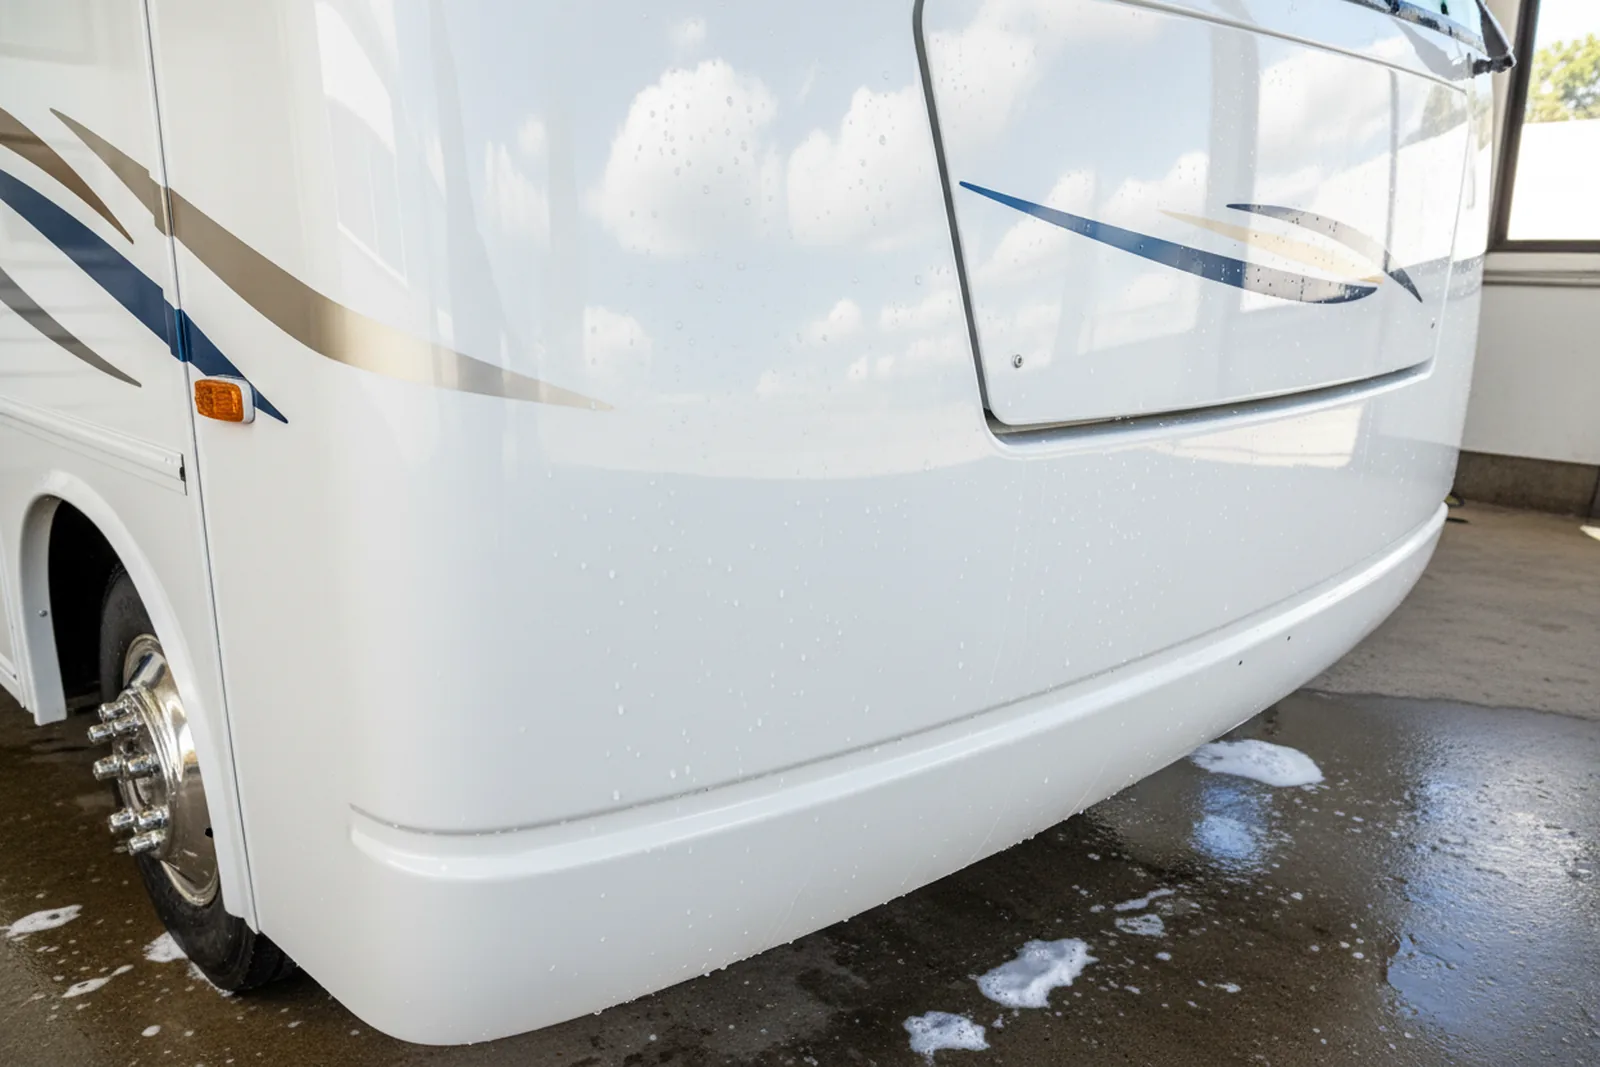
Ask: what are you applying, and how long will it last before I need to redo it? RV exposure shortens those numbers, so outdoor storage in Florida means waxing more often, and waxing an RV panel by panel is the method I trust. A month later, beading should still be there. If water sheets and lays flat, the protection failed early and you have got a phone call to make.
I found this video helpful for seeing the whole process in action.
9. Decals and graphics treated gently, no compound on test spot first
Decals scratch befor the paint does. Test any cleaner or compound on a small area of the decal that is not visible. One vinyl maker’s care sheet says keep the nozzle at least 12 inches away, perpendicular, under 1,200 psi.
Ask: do you tape off the decals? Do you plan to polish over them? If the answer is yes to polishing over them, get a different detailer. A month later, skipped-edge decals start peeling at the corners, and that is not a vinyl warranty issue.
10. Glass, lenses, and window gaskets get their own pass
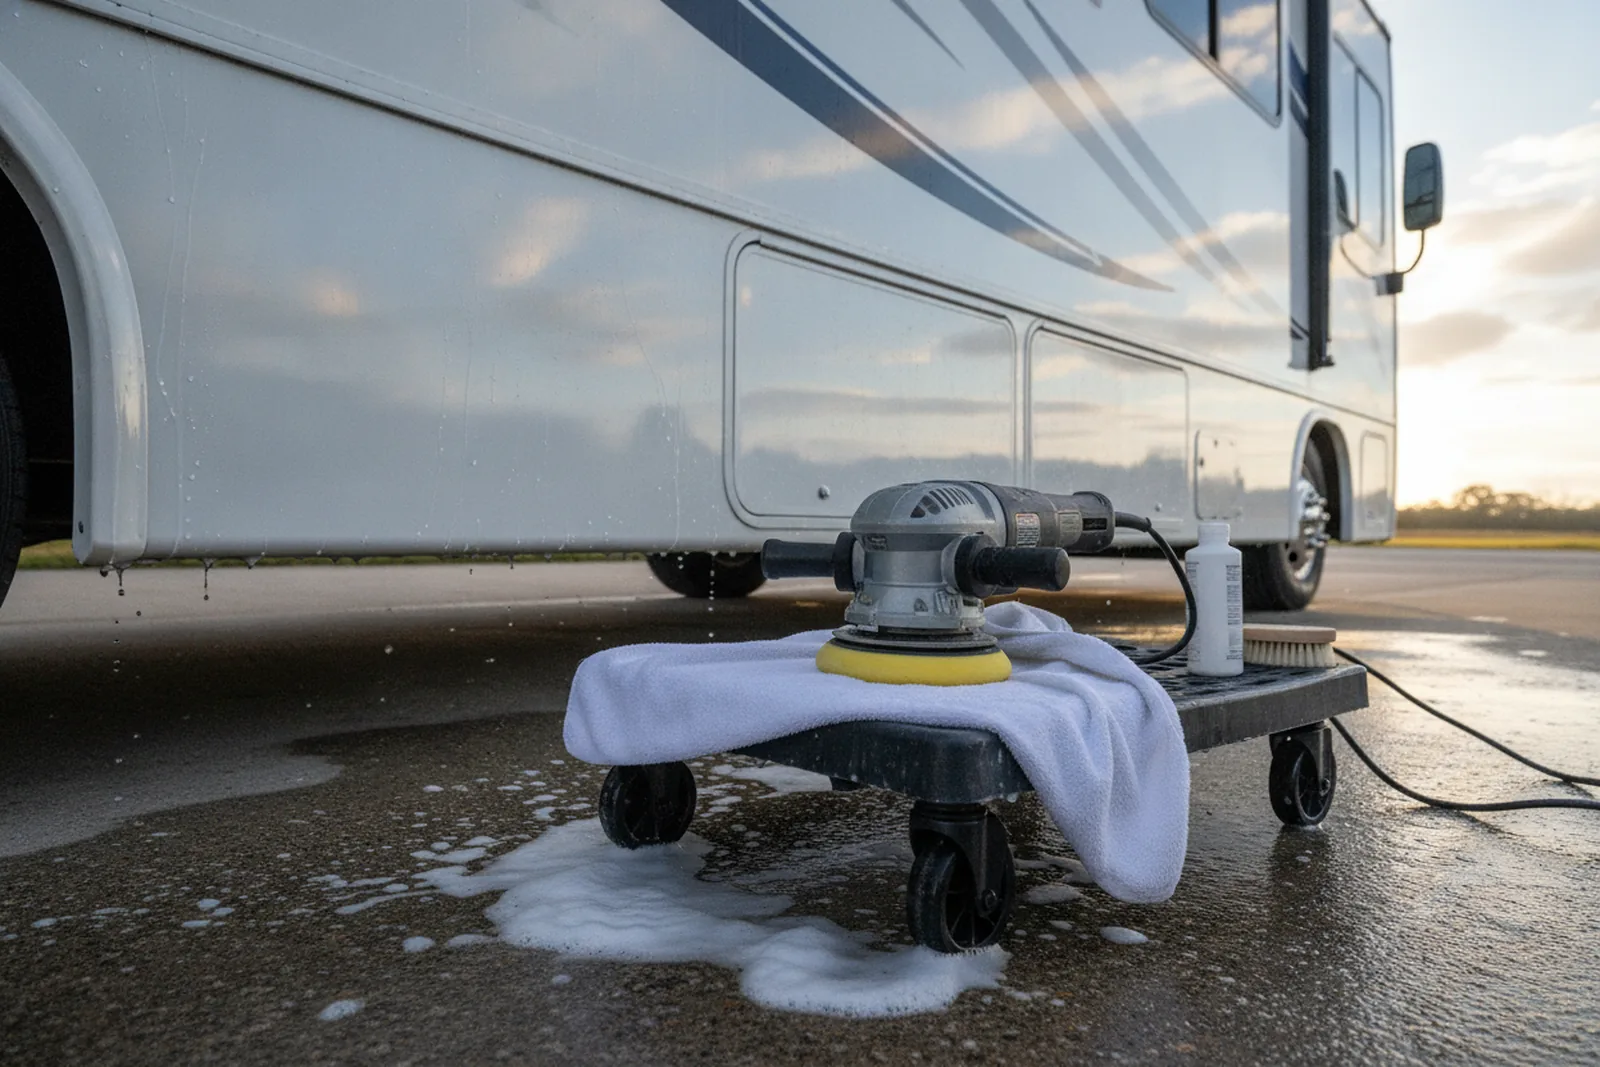
Windshields get a clay towel and a glass cleaner that does not run down and strip wax. Headlight and tail light lenses get plastic polish if they are cloudy. Window gaskets and slide seals get wiped down with a rubber-safe cleaner, not solvent-laden tire shine.
Ask: do you treat window gaskets or just wipe the glass? Skipped gaskets dry out, crack, and leak a year later. A month after the detail, your windows should still be spot-free when the sun hits them at an angle, and the gaskets should look dark and pliable.
11. Wheels, tires, and diamond plate done last
Wheels get a dedicated mitt or brush, never the same one as the body. Brake dust is corrosive and embeds in clear coat. Tires get a water-based dressing that does not sling. Diamond plate and aluminum tread plate get a mild polish if the owner wants it shiny, but never an acid cleaner near the sidewall.
Ask: do you dress tires or just wash them? A month later, brown bloom on the tire sidewalls means no dressing or a cheap one. Clean wheels with no dressing look like a job half done. And keep the dressing off the rubber roof vents up top. That stuff migrates when it rains.
What I’d do this weekend after reading this list
Pull up three mobile RV detailers or shops with an RV bay near you and ask each of them two questions: what is on your line item list for an exterior detail, and what does your protection last? Two of them will hang up on you. The third will have a better answer than I wrote here.
Then walk around you’re rig with a dry white towel and see for yourself. Wipe the sidewall. If the towel comes back chalky, you need oxidation correction, not wax, and you now know what that means. The detailer who says we will just wax it without compounding first is selling you a shine that dies in a month. Do not pay for that.
Related reading
FAQ
What should a quality RV exterior detailing include?
A quality RV exterior detailing should include the 11 steps above: roof cleaning with a membrane-safe cleaner, roof treatment if appropriate, a top-down hand wash, rain gutter and spout cleaning, bug and tar removal on the front cap, decontamination, oxidation check and correction, protection with a stated lifespan, careful decal treatment, glass and gasket care, and wheels and tires done last. Anything less is a wash-and-wax, not a detail.
How much does RV exterior detailing cost per foot?
Wash-only runs about $3 to $5 per foot, premium wash with roof cleaning about $10 per foot, wash-and-wax $10 to $16 per foot, oxidation removal from $15 to $30 per foot and up, and ceramic coating anywhere from $24 to $100 per foot or more. Prices vary by region, rig size, and condition, so get a written per-foot quote for the exact same scope from two or three detailers.
How long does a ceramic coating last on an RV?
Claims range from six months to two years or more, but RV exposure to sun and outdoor storage shortens those numbers, and these are just claims, not guarantees. The coating's lifespan depends on prep, product quality, and how you wash it afterward. Ask for a written expected lifespan and any maintainance requirements before you pay.
What is the towel test for RV oxidation?
Wipe a clean, dry microfiber or cotton towel across the sidewall. If white chalk transfers to the towel, the gelcoat is oxidized and needs compounding and polishing before any wax or sealant. If the towel stays clean, the surface is in good enogh shape to protect as-is.
Why do black streaks come back after my RV is detailed?
Most likely the rain gutters and drip spouts was not cleaned. Streak-causing dirt collects in the gutter channel and runs down the sides during the first rain. A proper detail scrubs the gutters and spouts clean, which stops most new streaks. Old streaks may need a dedicated black streak remover.
Can I pressure wash my RV?
You can, but you must be careful. Use a wide fan tip only, keep the nozzle at least a foot away from the surface, and never aim at decal edges, window gaskets, or slide seals, because high pressure can cut decals and force water past rubber gaskets. High pressure can cut decals and force water past rubber gaskets. On roof membranes, skip pressure washing entirely; use a hose and brush as the membrane maker recommends, since no roof-membrane maker approval of pressure washing was found.
How often should I wax my RV if it sits outside?
Some RV makers recomend waxing every 3 to 6 months if the rig is stored outside, but intervals vary, so check you're owner's manual. Carnauba wax typically lasts 1 to 4 months; synthetic sealants typically last 3 to 6 months, but these are industry estimates and RV exposure shortens them. If you park in relentless sun, like I do in Florida, check for beading every month and reapply when water stops beading.
Find RV detailers near you
Compare RV detailers and mobile washes in your city, then ask a few for a price.
Browse by state