RV oxidation removal: restore chalky gelcoat without cutting through
By Nate Ferreira · October 29, 2026
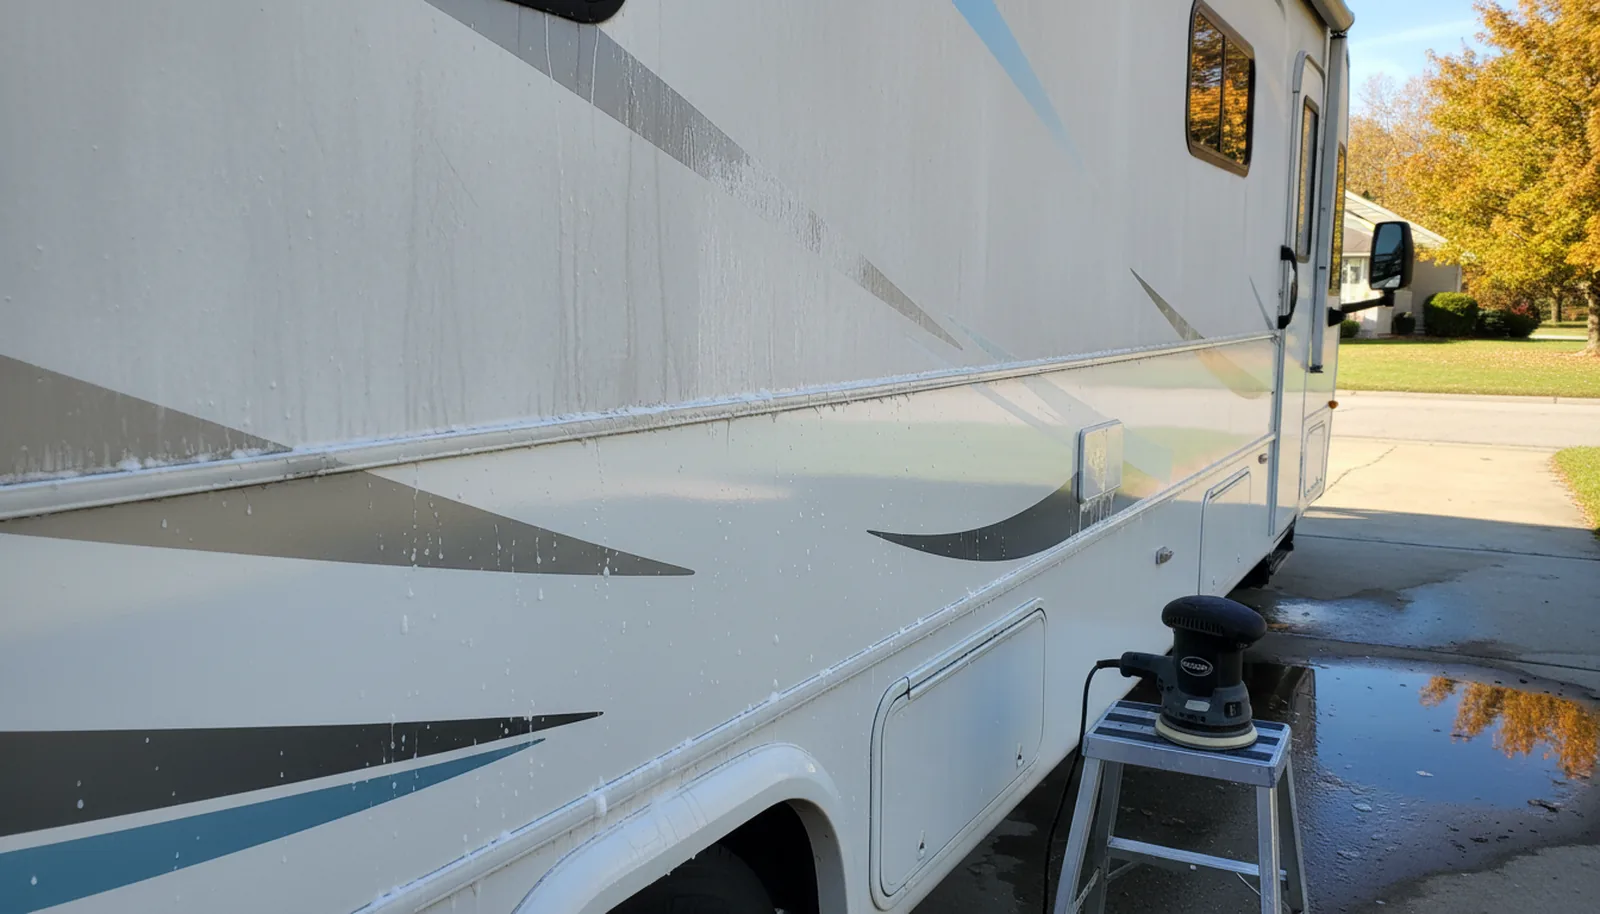
Last March I pulled a 31-foot fifth wheel out of a storage lot off I-75 near Fort Myers, same kind of job you’d get with RV detailing in Atlanta. Owner parked it in October right after a hurricane brushed past and hadn’t laid a hand on it since. Front cap looked like somebody dusted it with flour. Ran a clean white towel across it and it came back gray. That’s the towel test, and once you see gray on the cloth you’re not washing anything. You’re cutting oxidation. And you can find shops that focus on RV oxidation removal all over the country.
Most gelcoat oxidation starts on the front and rear caps, low-angle sun and water sitting in the mold lines all day, and if you’re in the Peach State there are pros around who do RV oxidation removal in Georgia. I’ve tried a dozen shortcuts. Burned a corner on my own boat when I was new, rotary and a wool pad, so I understand why you’d shop RV oxidation removal in Tucson prices before letting anyone near your rig. This is a patient, pad-by-pad kind of job. If you’re up near the north side of Atlanta, look at the RV oxidation removal in Alpharetta shops because they’ll do it right.
Know your surface before you touch a pad
Your rig isn’t one material, and if you’re in central Florida compare RV oxidation removal in Orlando services befor somebody starts grinding on the wrong thing. Most travel trailers and fifth wheels have gelcoat over fiberglass. A lot of Class A and Class C coaches wear full-body paint with a clear coat. Some sidewalls are Filon, a laminated fiberglass skin that’s way thinner than a molded cap. Each one takes a different level of polish.
Run your hand over the sidewall. Rough to the touch and your palm comes away white, that’s gelcoat oxidation. If it’s a painted panel with clear coat, don’t compound it at all without checking the manual first. Filon can be polished lightly but you have to be careful along the seams and around the decals.
Before you buy anything, pull up an RV detailing in Atlanta page if that’s your market, or just look at our post on RV detailing prices per foot to see what mobile detailers near you charge. Then read the next section.
Towel test first: gauge how much oxidation you have
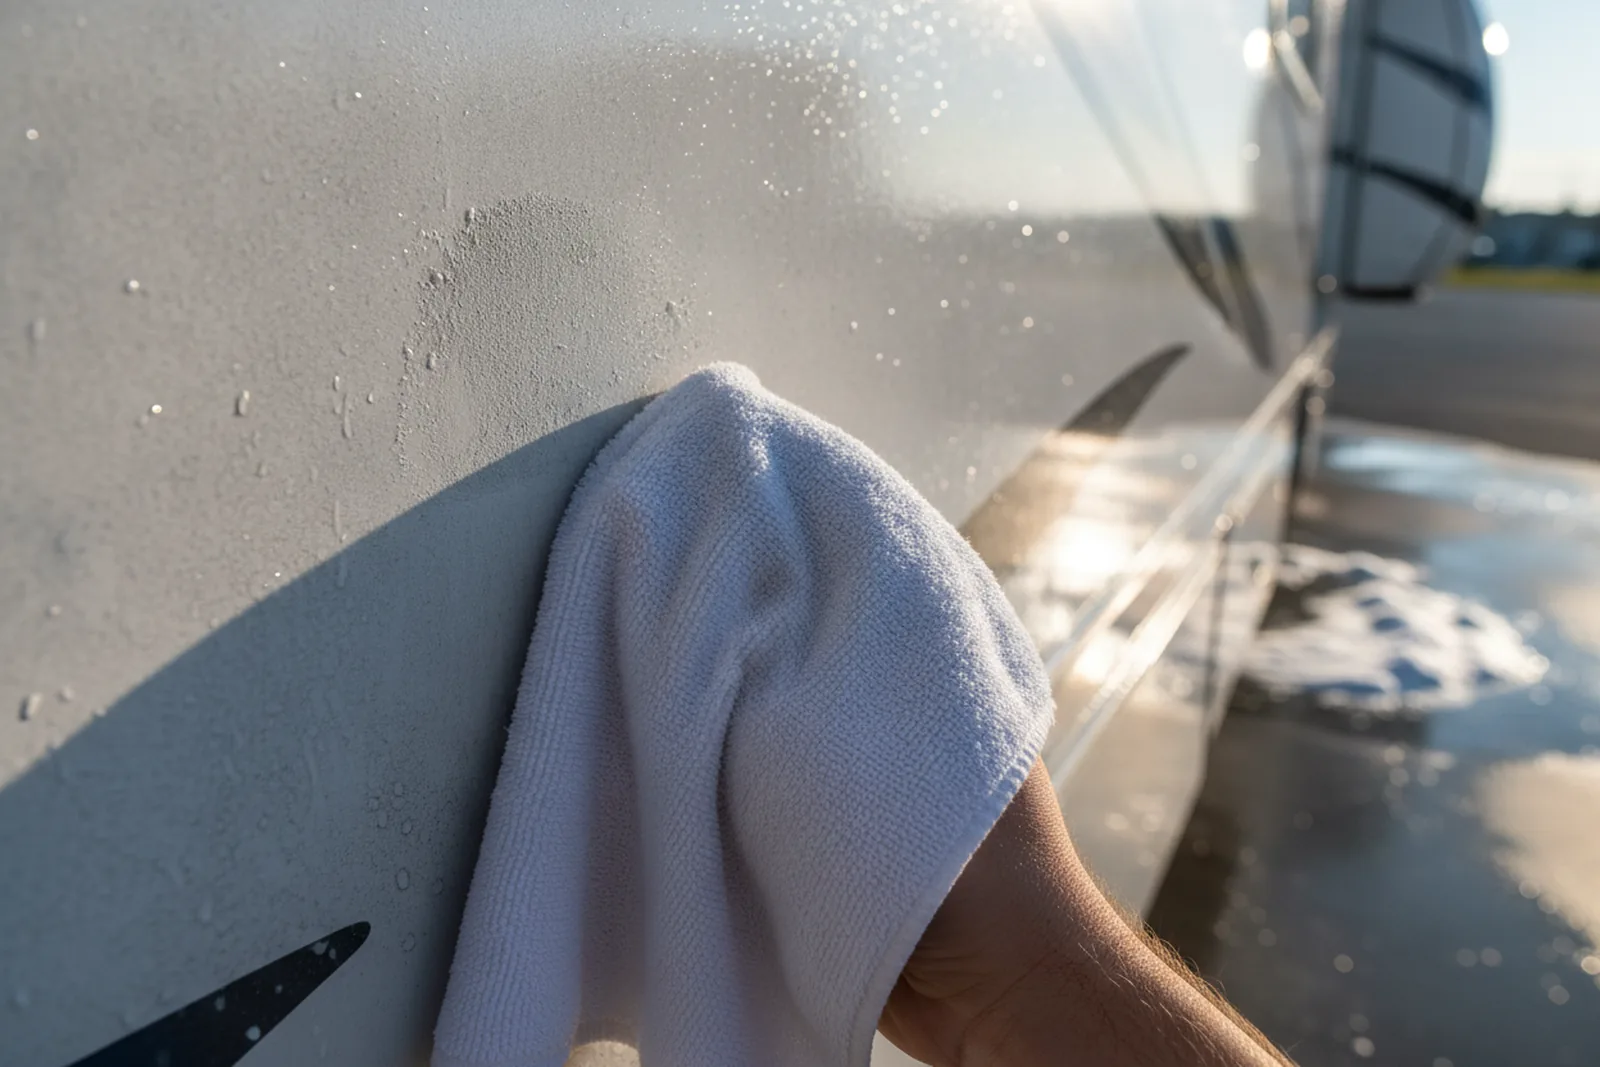
A clean white microfiber towel tells you more than any glossy brochure ever will. Wipe a dry section of the cap. A little white dust on the towel means light oxidation. Chalky gray, that’s medium. And if the color’s gone and the gelcoat feels sandy, you’ve got heavy oxidation on your hands and it’ll be several hours with a machine.
Here’s how I group them:
| Oxidation level | What you see on the towel | What the surface feels like | Getting it right |
|---|---|---|---|
| Light | Faint white dust | Smooth to the touch | Cleaner wax or light polish may be enough |
| Medium | Gray chalk, color faded | Slightly rough | Compound then polish, then wax |
| Heavy | Thick chalk, color gone | Sandy, like fine sandpaper | Wet sand or several compound passes, then polish and protect |
If you’re in the Southeast, compare per-foot quotes from local detailers. Heavy oxidation is a pro job with a rotary and a paint thickness gauge. Light stuff you can handle with a bucket and a Saturday.
Wash and decontaminate first, even if you’re desperate
Don’t polish dirt. I did that once on my own Class C after a week at the beach. Pad loaded up with sand and left swirl marks I’m still mad about. Use a pH-neutral car shampoo, a soft long-handled brush or microfiber mitt, and if the water’s hard where you’re parked, do a deionized spot-free rinse before anything dries.
For decontamination, a clay bar or clay mitt pulls off what soap can’t get. Do the caps and sidewalls with it, never the decals or the sealant.
Black streaks running down from the gutter,get them off first with a streak remover that’s rated safe for fiberglass. Leave them to long and they’ll etch right into the gelcoat. This is the step where you find all the crud that woudl make polishing ten times worse.
Keep a few sets of pads ready too. I run three colors: cutting, polishing, and finishing.
Start with the least aggressive option: test a panel
On a 26-foot travel trailer down in south Georgia I spent an hour doing one 2-by-2 test section on the side of the rig. Dual-action polisher, medium foam pad, light polish. Oxidation faded some so I moved up to a compound on the same pad. That was the level.
You can always go more aggressive. Cut too deep the first time and the only fix is a repaint. So start with a polish and a soft pad, then check it under bright light. Still chalky? Step up to a compound on a firmer pad and run it in slow overlapping passes, never letting the pad sit still.
For a list of what a full detail actually covers, compounding included, read our post on RV detailing. Heavy oxidation is where you start comparing cost per foot with a pro.
Machine polishing, small sections, and the corners I burned
I burned through my first boat’s corner. One lousy 1.5-inch spot on the transom where the gelcoat was thin. Held the rotary in one place while I answered my phone. A dual-action polisher’s not nearly as mean as a rotary, but it’ll still shave an edge off if you don’t pay attention.
Work one 2-by-2 foot panel at a time. Tape off decals and window trim with painter’s tape. Keep the pad flat on the surface, no tilting. Do the flat areas first, then come back to edges and corners with a smaller pad or a microfiber applicator by hand.
| Job | Where to fix | Cost or time |
|---|---|---|
| Light oxidation | Wash, light polish, wax | A day with a DA, $15 to $20 per foot at a detailer |
| Medium oxidation | Compound, polish, sealant | A weekend, $25 to $35 per foot |
| Heavy oxidation | Wet sand, compound, polish, ceramic | A week or a pro at $40 to $70+ per foot |
Want to know what central Florida’s charging these days? Check RV wax oxidation removal in Orlando. The quotes will tell you if it’s worth your weekend.
I found a video that walks through the full oxidation removal process step by step, which might help you see the technique before you start.
Printable checklist for RV oxidation removal
Print this and take it to the rig. Check each box as you finish it.
- Identify the surface: gelcoat, paint, or Filon (check the manual)
- Towel test on a dry cap: note the chalking level (light, medium, heavy)
- Wash with pH-neutral soap and a soft mitt; dry with a microfiber
- Decontaminate with a clay bar or mitt on fiberglass only
- Remove black streaks with a safe remover before polishing
- Tape off decals, seals, windows, and trim with painter’s tape
- Set up a dual-action polisher with a cutting pad and a small test area
- Start with a light polish on a medium pad; step up only if needed
- Work a 2-by-2 section at a time, keep the pad flat, avoid edges
- Wipe and inspect with a bright light before moving on
- Repeat the compound only where the chalking is still visible
- Polish the entire surface to refine the gloss
- Finish with a wax, sealant, or ceramic coating immediately
- Buff off the residue with a clean, dry microfiber
- Inspect the corners and edges by hand; touch up if needed
Warning: Never use a rotary buffer with a wool pad on an RV unless you’ve got a paint thickness gauge and a lot of practice. Wear eye protection when you’re working overhead, and never compound a decal. The vinyl will turn white and lift at the edges.
Protect immediately: bare gelcoat re-oxidizes in weeks
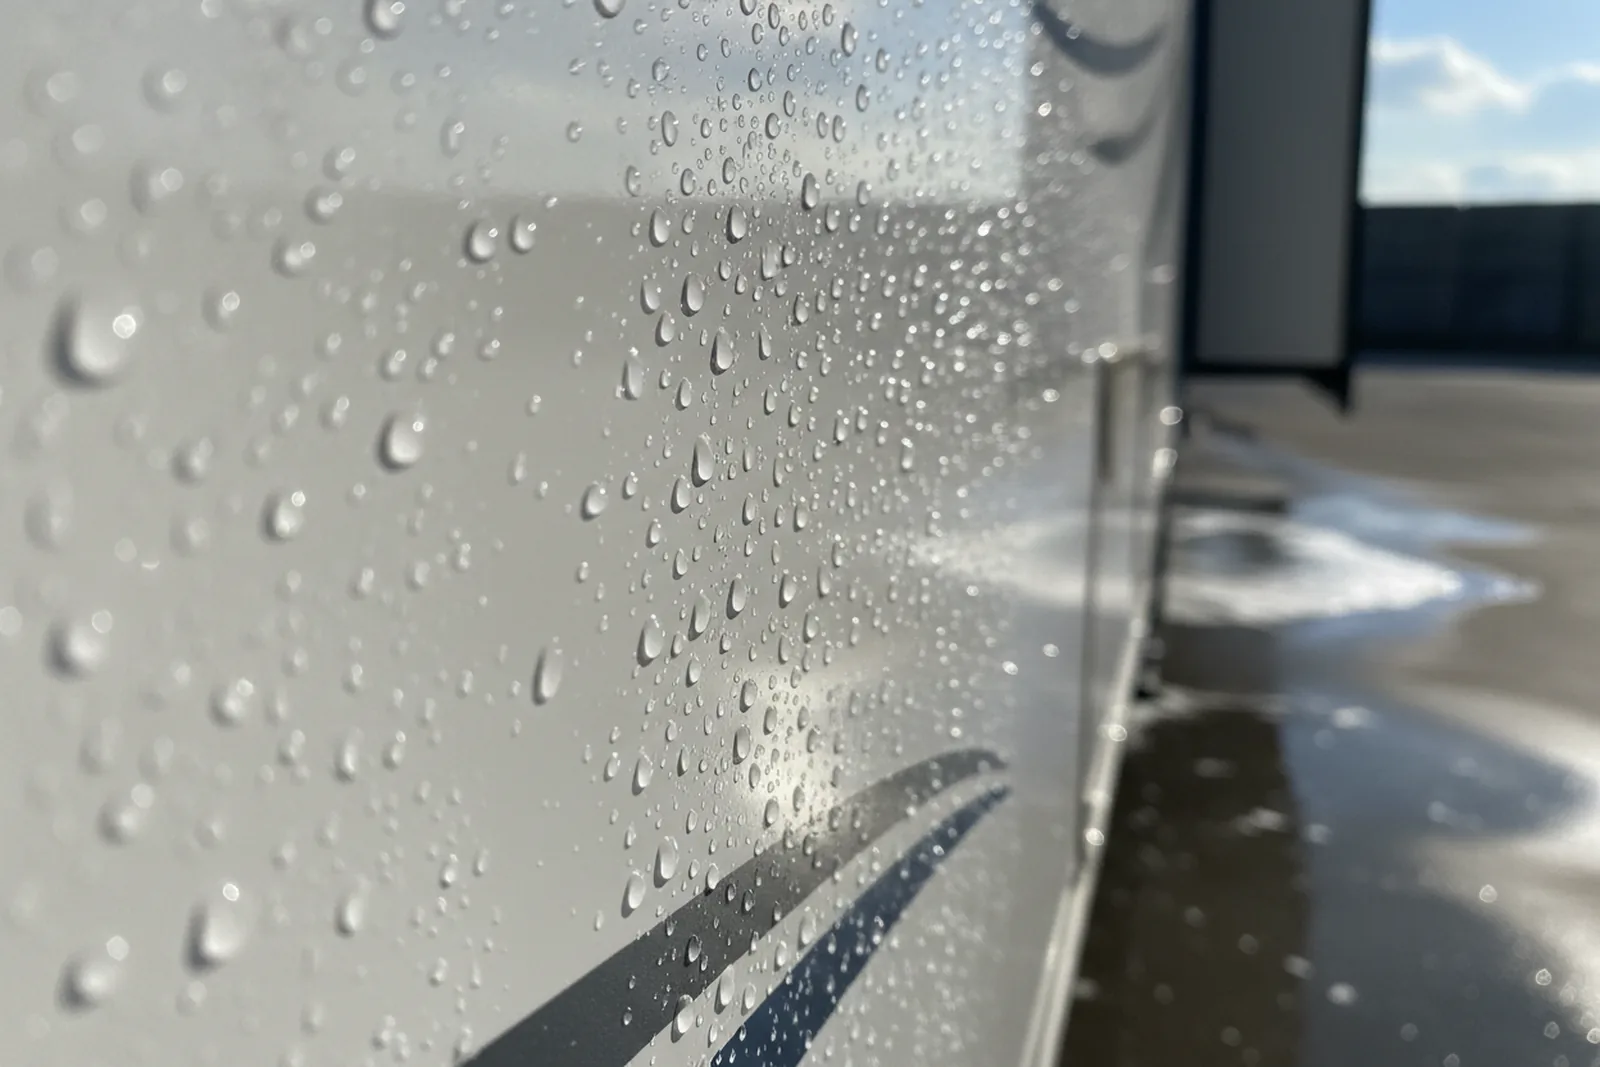
Once you compound and polish, the gelcoat is naked. No wax, no protection, nothing. It’ll start chalking again faster than it did the first time becuase all the old wax is gone. I watched a polished front cap go dull in a month sitting in a Sarasota lot.
Wax is cheap and easy but it doesnt last. Figure 1 to 4 months in Florida sun. A synthetic sealant gets you 3 to 6 months. Ceramic coatings cost real money but some claim up to 2 years on an RV that gets regular washes. Here’s the breakdown:
| Protection | Cost per foot (pro) | How long it lasts (RV use) | Best for |
|---|---|---|---|
| Carnauba wax | $10 to $16 (with wash) | 2 to 4 months | Winter trips, garage-kept rigs |
| Synthetic sealant | $15 to $30 | 4 to 6 months | Most travel trailers outside |
| Ceramic coating | $25 to $100+ | 1 to 2+ years | Coaches, full-time rigs, after heavy correction |
If you’re near Phoenix, look up RV wax oxidation removal in Tucson. Desert heat cooks bare gelcoat fast. Compare the cost of coating against redoing wax every few months before you decide.
What I’d do differently next time
I’d stop telling people they can ‘just wax it.’ That 31-foot fifth wheel from Fort Myers took me three days: one to wash and decontaminate, one to compound and polish, and one to put two coats of sealant on. Quoted the owner $900 and lost money on it. Next time I’d quote more and walk away if it got tight.
Try this little test this weekend. Wash the rig, then wipe the front cap with a clean towel. If the towel picks up color, spend an hour on a 2-by-2 test panel with a polish and a DA. That’ll tell you whether you’ve got a Saturday job or a pro job. Then call two mobile RV detailers or a shop with an RV bay and get a written per-foot quote from each on the same work. That number is you’re baseline.
If you’re in the Southeast, start with RV wax oxidation removal across Georgia, but the real comparison is the one in your own driveway.
Related reading
FAQ
How do I know if my RV has oxidized gelcoat or just faded paint?
Wipe a dry area with a clean white towel. If the towel shows white or gray chalk, it's oxidized gelcoat. Painted surfaces with clear coat won't chalk like that; they'll look cloudy but the towel stays clean. Check your owner's manual to see wich panels are gelcoat and which are painted.
Can I remove RV oxidation by hand without a polisher?
You can do light oxidation by hand with a polish and a lot of elbow grease, but medium or heavy chalking needs a dual-action polisher to cut fast enogh. A 30-foot rig done by hand could take a full week or more, and your arm will file for divorce.
What's the difference between compounding and polishing?
Compound is coarser; it removes oxidized gelcoat faster but leaves fine scratches (called haze). Polish is finer; it refines that haze and brings back the gloss. You almost always compound first, polish second, then protect with wax or sealant.
Should I use a rotary buffer or a dual-action polisher on my RV?
A dual-action is much safer because it oscillates and won't burn through the gelcoat as fast. A rotary can do faster correction but it will cut through on corners, edges, and thin areas if you hesitate. I burned through on my boat with a rotary and never used one on an RV again.
Do I need to remove the decals before polishing?
No, but you must tape them off with painter's tape. The edge of a pad will scuff the vinyl and the heat can lift the edges. Don't apply compound or polish directly to decals. Clean them separately with a pH-neutral cleaner.
How much does professional RV oxidation removal cost?
Most detailers charge by the foot, and oxidation removal runs about $15 per foot for light chalk and $30 and up for real correction. A 30-foot travel trailer could run $450 to $900 or more, depending on condition and region. Heavy oxidation offen costs more because it takes multiple compound passes. Get a written per-foot quote first.
How long does RV oxidation removal take?
For a 30-foot rig with medium oxidation, plan a full weekend: one day to wash, decontaminate, and prep; one day to compound and polish; and another half day to protect. If you're new to machine polishing, add a day. A pro with a helper can do it in two long days.
Find RV detailers near you
Compare RV detailers and mobile washes in your city, then ask a few for a price.
Browse by stateOr jump to: RV wax & oxidation removal · Jacksonville, FL · Phoenix, AZ · Roseville, CA